The path ends at a cairn and the ground ahead is tussocky, trackless and quiet. This is the moment a map and compass stop being classroom props and start earning their place in your pack. The good news is that the skills involved are neither difficult nor mysterious. A few hours of practice will give you everything you need to walk off-path with confidence, in mist, in rain, or in the flat light of a winter afternoon when every hill looks like every other hill.
Start with one principle: a map tells you what is there, and a compass tells you which way you are facing. Bring them together and you always know where you are and where you are going.
Know what your map is telling you
In Britain, most hill walkers use Ordnance Survey or Harvey maps, and both work the same way. Before anything else, find the scale printed in the margin. A 1:25,000 map means one centimetre on paper equals 250 metres on the ground, so a four-centimetre gap between two features is a kilometre of walking. At 1:50,000, that same four centimetres is two kilometres. Scale changes how much detail you can see and how long a route will actually feel.
Then learn to read contours, the thin orange lines that show height and shape. Each line joins points of equal elevation, and the vertical gap between lines — the interval, usually 5 or 10 metres — is printed on the map. Widely spaced contours mean gentle ground. Tightly packed lines mean steep ground, and the closer they bunch, the steeper it gets. A series of concentric rings is a summit; a V shape pointing downhill is usually a spur, while a V pointing uphill is a valley or re-entrant. This is where the real information lives: not in the colours, but in the shape of the land.
The grid, quickly
The national grid overlays every UK map with squares, each one identified by two letters followed by numbers. A four-figure reference, such as 34 71, puts you in a one-kilometre square. A six-figure reference, 345 712, narrows that to a 100-metre square — accurate enough for mountain rescue to find you.
The rule is always the same: go along the corridor, then up the stairs. Read the easting (the vertical line to the left of your point) first, then the northing (the horizontal line below it). Estimate the tenths between the lines for the extra digits. Practise on a landmark you can see — a bridge, a junction, a trig point — and it becomes automatic in an afternoon.
Get to grips with the compass
A baseplate compass is all you need. It has a rotating bezel marked in degrees, a magnetic needle that always points to magnetic north, and a red orienting arrow inside the housing.
Two bearings matter for walking. A take-a-bearing tells you the direction from your position to a feature you can see. A walk-on-bearing tells you the direction to walk when you cannot see your target at all. Both use the same technique:
- Hold the compass flat and level in front of you, away from metal objects, phones and magnetic belt buckles.
- Point the direction-of-travel arrow at your target.
- Turn the bezel until the red orienting arrow lines up with the red end of the needle — that is, until the needle sits inside the arrow, or "in the doghouse".
- Read the number at the direction-of-travel arrow. That is your magnetic bearing.
- To follow it, keep the needle aligned with the orienting arrow and walk in the direction the arrow points.
Walking on a bearing takes discipline. Pick a distant feature on that line — a boulder, a tree, a patch of dark rock — walk to it, then pick the next one. Trying to stare at the compass while walking is a recipe for drifting off line.
Back bearings
If you want to check where a visible feature is relative to you, take its bearing and add or subtract 180 degrees. If the result is under 180, add; if it is over, subtract. This back bearing points from the feature back to you, and it is a quick way to confirm that the spur you are standing on is really the one on the map.
Magnetic north, and why it matters
The compass needle points to magnetic north, while the grid lines on your map point to grid north, and the difference between them is called magnetic declination or variation. In the UK this is small — a couple of degrees, and slowly shifting — but it is worth knowing the current figure for your area, which is printed in the map margin.
The rule of thumb is simple: to convert a map bearing to a compass bearing, add the variation; to go from compass to map, subtract it. On a short walk in most of Britain, ignoring a one or two degree difference will not hurt you. On a long leg across featureless ground in poor visibility, it will. Get into the habit of applying it every time and you will never have to think about it under pressure.
Plan the route before you leave the car
Good navigation begins at the kitchen table. Spread the map out, and work through a few questions:
- Where might I lose the path, and what will I use as a handrail — a stream, a fence line, a ridge?
- Which legs are long, exposed or featureless, and would a bearing make those easier?
- What are my escape options if the weather turns or someone slows down?
- Where is the nearest road, bothy or village if I have to bail out?
- How long is each leg, honestly, given the terrain and the pack weight?
Mark the route on the map, note the key bearings, and write down the grid reference of your start point. If anything goes wrong, that reference is the first thing anyone will ask for. Timing matters too: a common planning pace for hillwalking is roughly 4 kilometres per hour on the flat, plus about a minute for every 10 metres of ascent. Adjust for your own fitness and for the weight you are carrying — it is a starting point, not a guarantee.
Techniques worth learning early
Aiming off is the trick of deliberately steering to one side of your target, usually towards a linear feature like a stream or path. If you aim slightly left of a summit and hit the stream that runs from it, you know exactly which way to turn. Pacing, or counting double steps over a known distance, gives you a rough measure of how far you have travelled. Both are simple, both are reliable, and both are worth practising on a clear day so they are second nature when the cloud comes down.
Practising without the pressure
Nobody becomes competent at this on a summit in a gale. Choose a local park, a country estate or a quiet moorland edge, and set yourself small tasks: take a bearing to a church spire and walk it, work out a six-figure grid reference for a gate, follow a contour line around a hill rather than over it. Twenty minutes here and there builds more skill than a single ambitious outing.
Then go out on a familiar walk in poor weather and navigate the whole thing by map and compass alone, with the GPS turned off and tucked away. Keep the device in your pack as a backup — there is nothing heroic about refusing to use one — but treat it as a safety net rather than a crutch. The point is to trust the paper in your hand and the needle in your palm, so that when the path really does run out, you simply check your bearing, pick your next feature and keep walking.
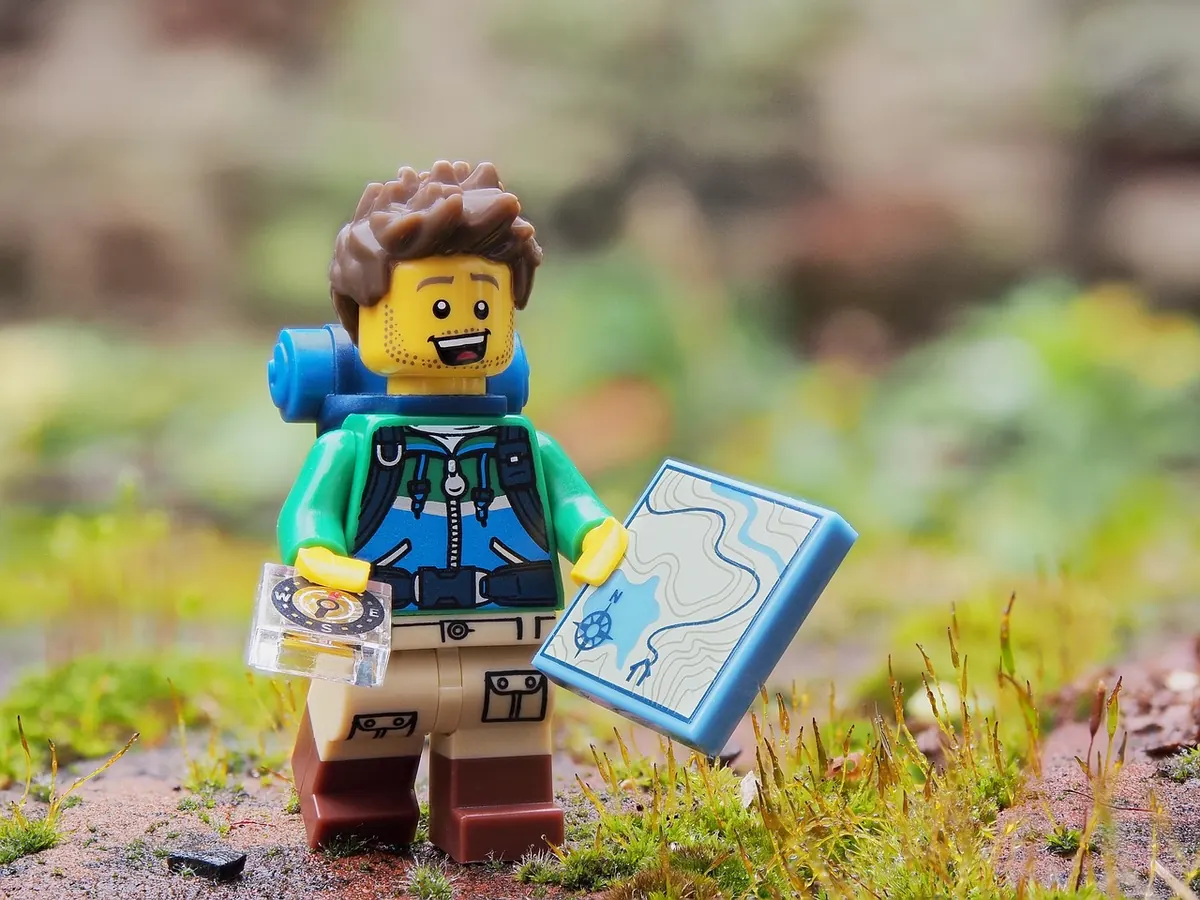
Photo: aitoff / Pixabay